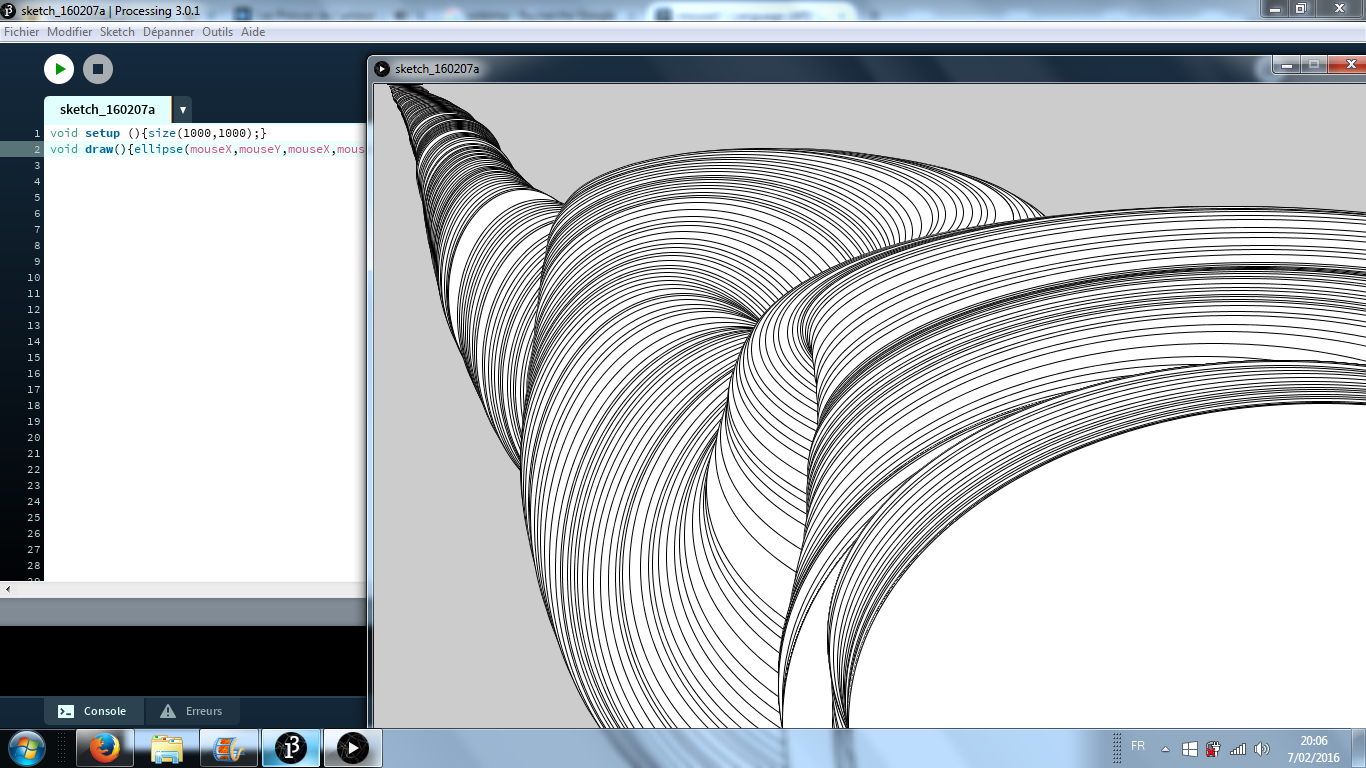
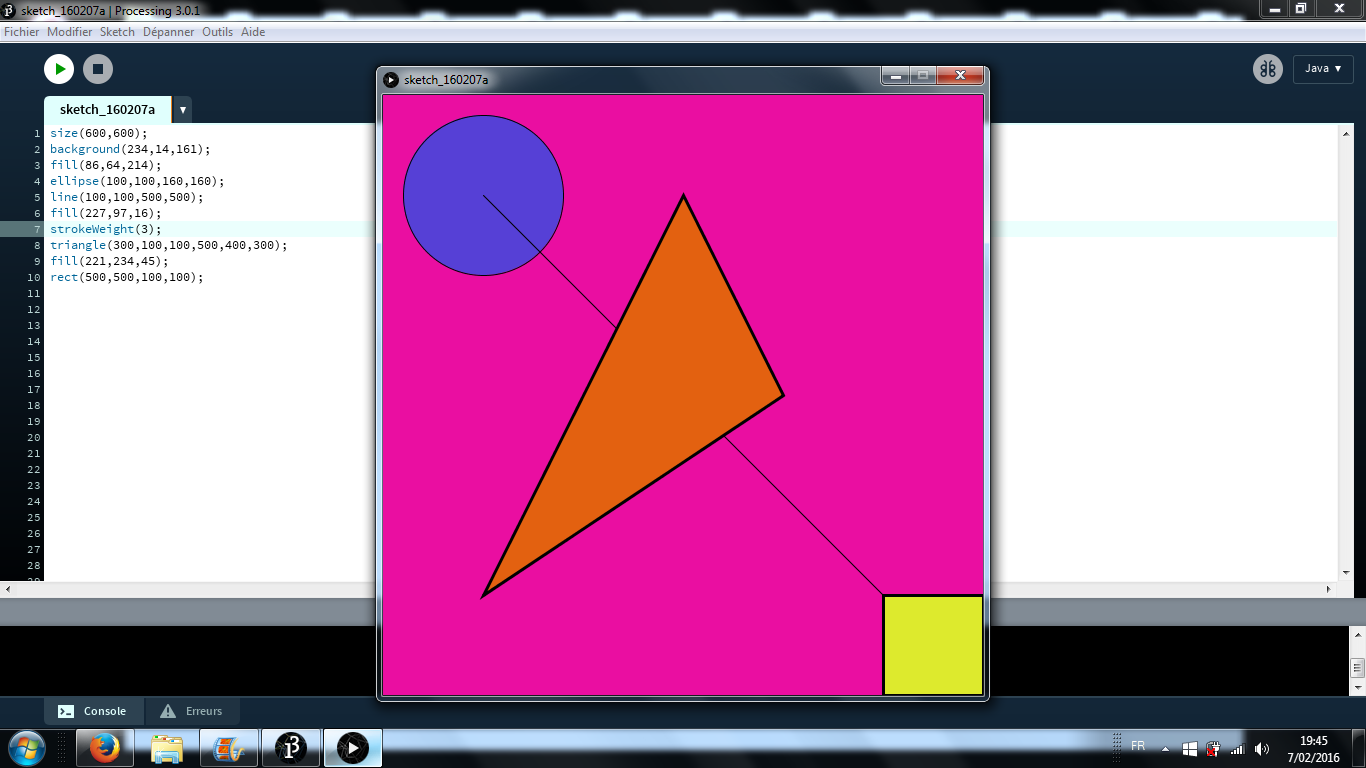
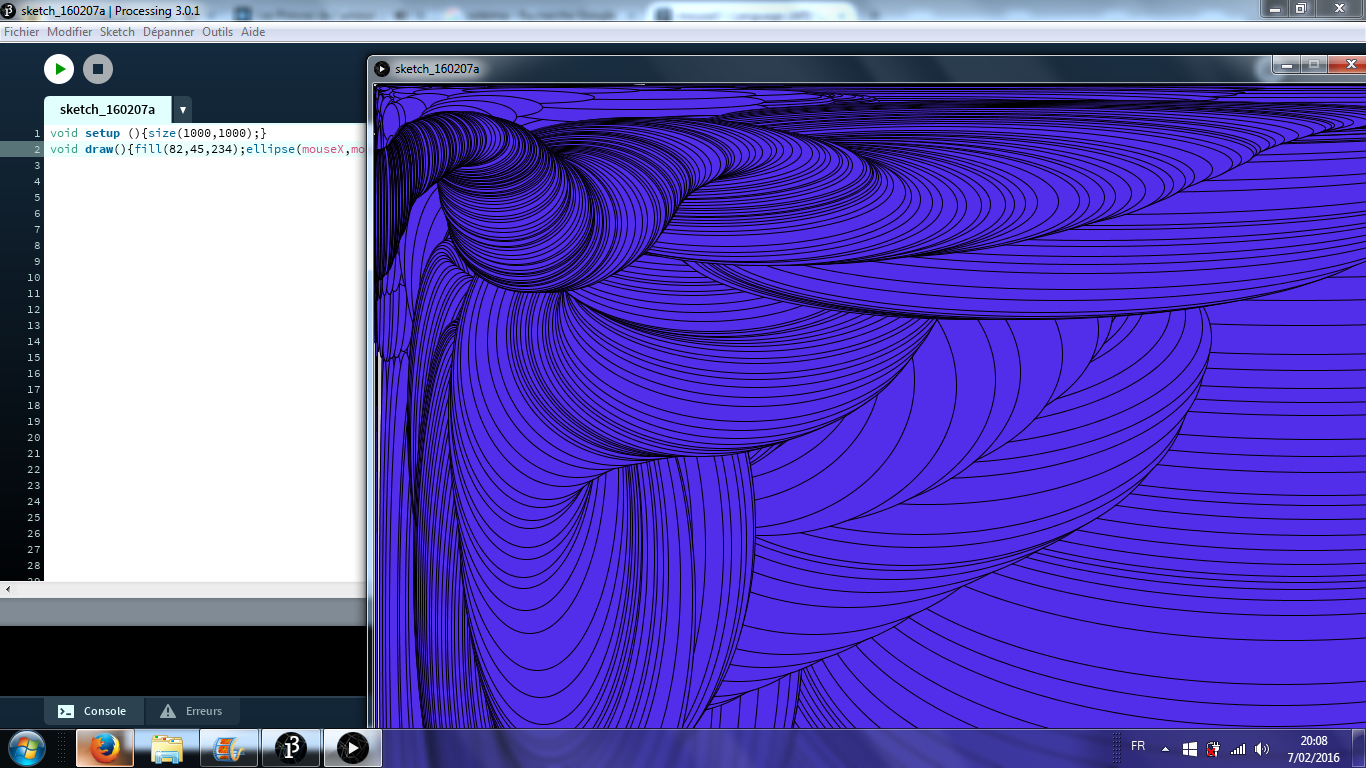
Le75::MonsieurBurns
DICTAPHONE ma gueule
Taper arduino ou raspberry dans la recherche google pour trouver des vieux trucs de geek.
Se renseigner sur:
https://fr.wikipedia.org/wiki/Processing
http://en.wikipedia.org/wiki/Spectrogram
Sound files are chock full of data, a spectrogram is a good place to start as it's similar to how our brains process sounds; responding to patterns of frequencies over time. I've played with sound files quite a bit, mostly using matlab and writing my own code. I'm not sure if that'd be right for what you're trying to do, there are probably simpler ways...
spectroscope
Programme qui transforme le son en image:
LINUX DEBIAN SUR ACER?
Acer Aspire S3 on different linux distributions
This part aims to describe the steps needed, to fully enable all features of the Acer Aspire S3 when using Ubuntu 13.04, Linux Mint 15 (both released in spring 2013) For Opensuse, see the appropriate section at the end of the article.
Please update or merge the relevant sections if appropriate. Preface
Ubuntu and Linux Mint supports most hardware components of this notebook. Sound is fully supported. WLAN support works right away. Due to the dual core processor, Ubuntu runs with excellent performance on this ultrabook. Some things still have to be tweaked manually, for example the powersave-mode. The battery will not last for the claimed six hours. Depending on the system load, the battery life time is something around four hours. BIOS update
The Bios (Basic Input/output System) is the operating system between the hardware and the Linux or Windows operating system. This Bios is in charge of the fan and many other low-level processor features. It is the one that loads up first, before linux or Windows. Your Acer S3 came with the 1.15 version. It has now been upgraded to 1.18 and does noticeably make the processor cooler and lowers your laptop battery drainage. I would recomend the upgrade. Installing the incorrect Bios may harm to your system, so please be carefull.
1- First go to the Acer site : Acer Bios update site 2- Select the Aspire S3-951 model and click on the “Bios” thumbnail 3- Download the 1.18 (as of april 30, 2012) or higher version of the Bios
For those who still have a Windows partition 4- Uncompress it and then enter the Windows folder and double click on the only file you will find. 5- Wait patiently until the update comes to an end. It will automaticely reboot your computer.
You sould now notice a lower fan noise
For those who have only a linux partition You need a usb Stick and a internet connection. 4- Uncompress the file ( We vill only use the DOS folder not the Windows one), 5- Format, if it is not already done, your usb stick using the standard fat16 format, 6- Install unetbootin and choose freedos in “select distribution”, choose usb and press “ok”, 7- after the install is finished move the “DOS” folder to your usb stick. 8- Boot your laptop on the usb stick, then choose option number 5 of boot “FreeDOS Live CD only” , 9- go to “C:\” then to the “DOS” folder and start “flash.bat” file . 10- after update is finished comp. reboots , and remove the usb stick to avoid freedos to boot again ! Basic Installation Instructions
To install linux on your laptop, first download the Iso file of you favorite distribution (Ubuntu, Mint, Fedora, OpenSuse,…). Remember your Acer Aspire S3 requires a 64bit Linux version. Now you need to put Linux on an USB Stick (if you don't have an external DVD reader). There are two ways of doing this depending if you have already linux on your S3 or on any other computer or if you just have Windows.
If you have not yet installed Linux on your S3
Please follow the excellent guide at : future desktop
If you already have a Linux distribution installed on your S3 or on any other computer that you can put your hands on
Put a USB Stick into one of the USB ports and use imageWriter to be able to copy your linux distribution onto it. If you don't have it open a Terminal (Al+Ctrl+T) and run this command:
sudo apt install usb-imagewriter
Launch imageWriter from the menu, select your ISO image and your USB device and press “Write to device”.
Now that you have the USB stick filled with your prefered Linux distribution
When you power up your S3 with the USB stick inserted, You can ask it to boot from your USB stick by pressing F12 when the computer bios starts (The first screen that appears). A menu will then appear showing the different drives to boot from. (In alternative, press F2 during the bios boot start it will lead you to the bios setup. In the boot tab, make sure that the USB stick is at the top of the boot order. Save the changes and leave the BIOS.)
Go on with the installation procedure. The Hard disk drive will be recognized as /dev/sda and the SSD (solid state drive) is recognized as /dev/sdb by the installer. (It seems like Windows uses the SSD only for hibernation) You will get a performance boost if you customize your installation by instaling Linux on the SSD.
To install Linux in the more efficient manner, try the custom installation. You need to delete one of the primary partitions because the factory configuration of your S3 Acer uses the maximum four primary partitions available. Deleting the SSD (/dev/sdb) seems a good option. I use this partition :
   16GB ext4 for the root “/” on the SSD (/dev/sdb)
   4GB for swap. on the SSD (/dev/sdb)
   Half the Hard Disk Drive for Windows (/dev/sda)
   Half the Hard Disk Drive for my documents “/home”
Don't forget to place the Windows/ Linux system boot launcher called “Grub” on the Sda Hard Disk Drive (look at the bottom of the partition window). By default, Grub is installed on the SDD and will not boot giving you the “Grub rescue” prompt.
int positionY;
int positionX;
int vitesseX;
int vitesseY;

void setup(){
size(600,600);
positionY=0;
vitesseY=1;
positionX=0;
vitesseX=1;
}

void draw(){
background(255);
fill(255,49,204);
ellipse(400,positionY,100,100);
positionY=positionY+vitesseY;
//on veut que quand le centre du cercle est à 550 en y
//la formule devient positionY=positionY-1

if(positionY==550){
  vitesseY=-1;}

if(positionY==50){
  vitesseY=1;}

 fill(29,56,203);
 triangle(positionX,positionY,positionX+100,positionY,positionX+50,positionY+50);
positionX=positionX+vitesseX;
//on veut que quand le point gauche du triangle est à 0 en x
//la formule devient positionX=positionX-1

if(positionX==200){
  vitesseX=-1;}

if(positionX==0){
  vitesseX=1;}

}
/* Deux cercles dessinent chacun trois branches d'une étoile par leurs mouvements respectifs
*/

int posX;
int posY;
int posA;
int posB;
int vitesseX;
int vitesseY;
int vitesseA;
int vitesseB;


void setup(){

  size(600,600);

  background(252,20,20);

   posX=300;
   posY=100;

   posA=150;
   posB=200;

   vitesseX=1;
   vitesseY=2;

   vitesseA=2;
   vitesseB=0;
}


void draw(){

  fill(255,248,36);

  ellipse(posX,posY,50,50);
  ellipse(posA,posB,50,50);

  posX=posX+vitesseX;
  posY=posY+vitesseY;

  posA=posA+vitesseA;
  posB=posB+vitesseB;

  if(posX==450 & posY==400){
    vitesseX=-2;
    vitesseY=0;}
  if(posX==150 & posY==400){
    vitesseX=1;
    vitesseY=-2;}
  if(posX==300 & posY==100){
    vitesseX=1;
    vitesseY=2;}

  if(posA==450 & posB==200){
    vitesseA=-1;
    vitesseB=2;}
  if(posA==300 & posB==500){
    vitesseA=-1;
    vitesseB=-2;}
  if(posA==150 & posB==200){
    vitesseA=2;
    vitesseB=0;}
}
DERNIERE LIGNE DROITE
Exemple du site processing:
import processing.sound.*;
// Declare the processing sound variables SoundFile sample; FFT fft; AudioDevice device;
// Declare a scaling factor int scale = 5;
// Define how many FFT bands we want int bands = 128;
// declare a drawing variable for calculating rect width float r_width;
// Create a smoothing vector float[] sum = new float[bands];
// Create a smoothing factor float smooth_factor = 0.2;
void setup() {
 size(640, 360);
 background(255);
 // If the Buffersize is larger than the FFT Size, the FFT will fail
 // so we set Buffersize equal to bands
 device = new AudioDevice(this, 44000, bands);
 // Calculate the width of the rects depending on how many bands we have
 r_width = width/float(bands);
 // Load and play a soundfile and loop it. This has to be called
 // before the FFT is created.
 sample = new SoundFile(this, "beat.aiff");
 sample.loop();
 // Create and patch the FFT analyzer
 fft = new FFT(this, bands);
 fft.input(sample);
}
void draw() {
 // Set background color, noStroke and fill color
 background(204);
 fill(0, 0, 255);
 noStroke();
 fft.analyze();
 for (int i = 0; i < bands; i++) {
   // Smooth the FFT data by smoothing factor
   sum[i] += (fft.spectrum[i] - sum[i]) * smooth_factor;
   // Draw the rects with a scale factor
   rect( i*r_width, height, r_width, -sum[i]*height*scale );
 }
}
CREER DES FORMES COMPLEXES: VERTEX
Using the beginShape() and endShape() functions allow creating more complex forms. beginShape() begins recording vertices for a shape and endShape() stops recording. The value of the kind parameter tells it which types of shapes to create from the provided vertices. With no mode specified, the shape can be any irregular polygon. The parameters available for beginShape() are POINTS, LINES, TRIANGLES, TRIANGLE_FAN, TRIANGLE_STRIP, QUADS, and QUAD_STRIP. After calling the beginShape() function, a series of vertex() commands must follow. To stop drawing the shape, call endShape(). The vertex() function with two parameters specifies a position in 2D and the vertex() function with three parameters specifies a position in 3D. Each shape will be outlined with the current stroke color and filled with the fill color.
Transformations such as translate(), rotate(), and scale() do not work within beginShape(). It is also not possible to use other shapes, such as ellipse() or rect() within beginShape().
The P2D and P3D renderers allow stroke() and fill() to be altered on a per-vertex basis, but the default renderer does not. Settings such as strokeWeight(), strokeCap(), and strokeJoin() cannot be changed while inside a beginShape()/endShape() block with any renderer.


